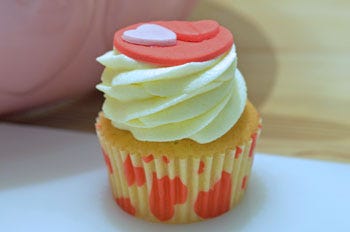
Valentines Cupcakes
It’s the most romantic day of the year and what better way to say “I love you” than with delicious cupcakes, especially if you’ve taken the time and effort to bake and decorate them yourself!
Judith Bond is a professional cake lover, enthusiastic photographer, passionate blogger, and lifelong North Walian. You can follow her on Instagram here.
You will need;
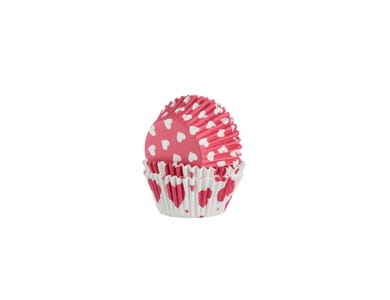
- Box of Hearts Cupcake Cases
- Batch of vanilla cupcakes with generous swirl of buttercream
- Non-stick board or work surface
- 250g white modelling paste
- Food colouring
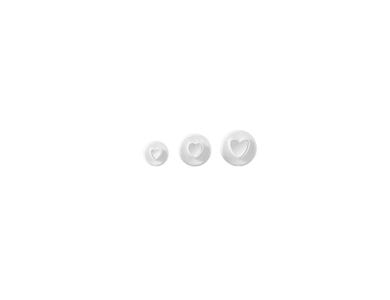
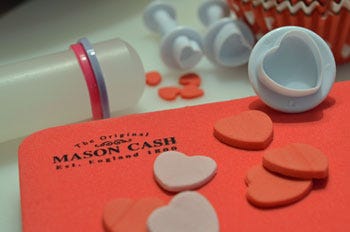
- Set of 3 heart cutters
- 2.5 inch fluted and plain circle cutter
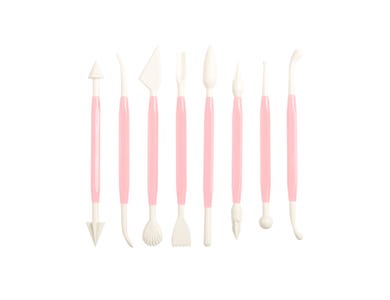
- Set of 8 Sculpting Tools
- Sharp knife
- Non-stick Rolling Pin with Sizing Rings
- Foam Decoration Mat
- Edible glue and small brush
- TOP TIP - treat yourself to a box of vegetable shortening from the supermarket - rub a little into your hands and onto the board. This will ensure your modelling paste doesn’t stick to the board or your hands and will make it much easier to work with.
Step 1
- Decide on your colour scheme. Here, I’ve used a vibrant red and baby pink but you could choose red/black or red/purple
Step 2
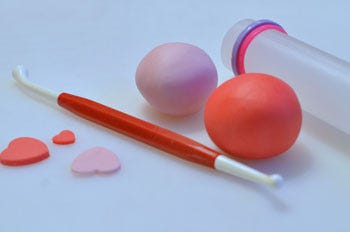
- Divide your modelling paste in half and soften before tinting each piece a different colour. You can create more shades from light to dark with increasing amounts of food colouring. Add with a cocktail stick for pale shades and more for a darker colour. Knead the paste well to mix the colour in, then keep your paste in an airtight bag to prevent drying.
Step 3
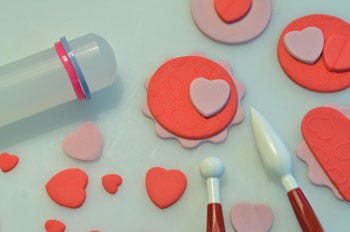
- Start by making the base for your toppers. Roll the modelling paste using your small rolling pin with spacers to get an even thickness of no more than about 2mm. Keep lifting the paste as you roll to prevent it sticking to the board. Then cut fluted and plain circles. You can do a few in each colour. Leave them to dry for a little while on your foam mat.
Step 4
- Next cut out a range of hearts in different sizes and different shades and leave to one side to dry a little.
Step 5
- To assemble your toppers, apply a small dab of glue to the underside of the hearts and gently stick to the base and hold while it adheres.
Step 6
- Have fun with the designs and make them all slightly different. You can switch the colours around, or put a round base on top of a fluted base, or just put a simple heart.
Step 7
- Display your finished cakes on a nice stand or pretty tray and they will make the perfect Valentine’s treat to give to a friend or enjoy with your loved one.